CamJam EduKit 3 Motor Controller
Want another CamJam EduKit 3 motor controller board? You’ve come to the right place!
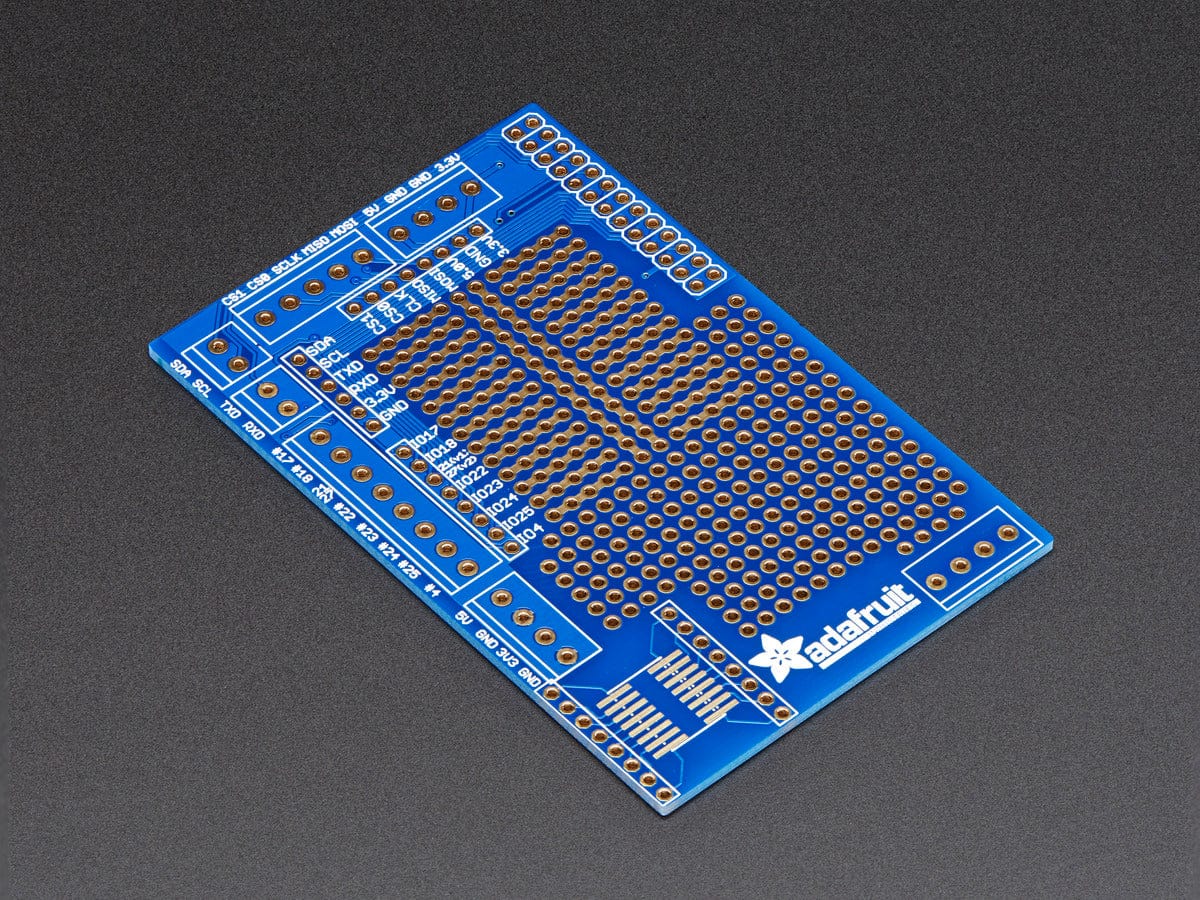
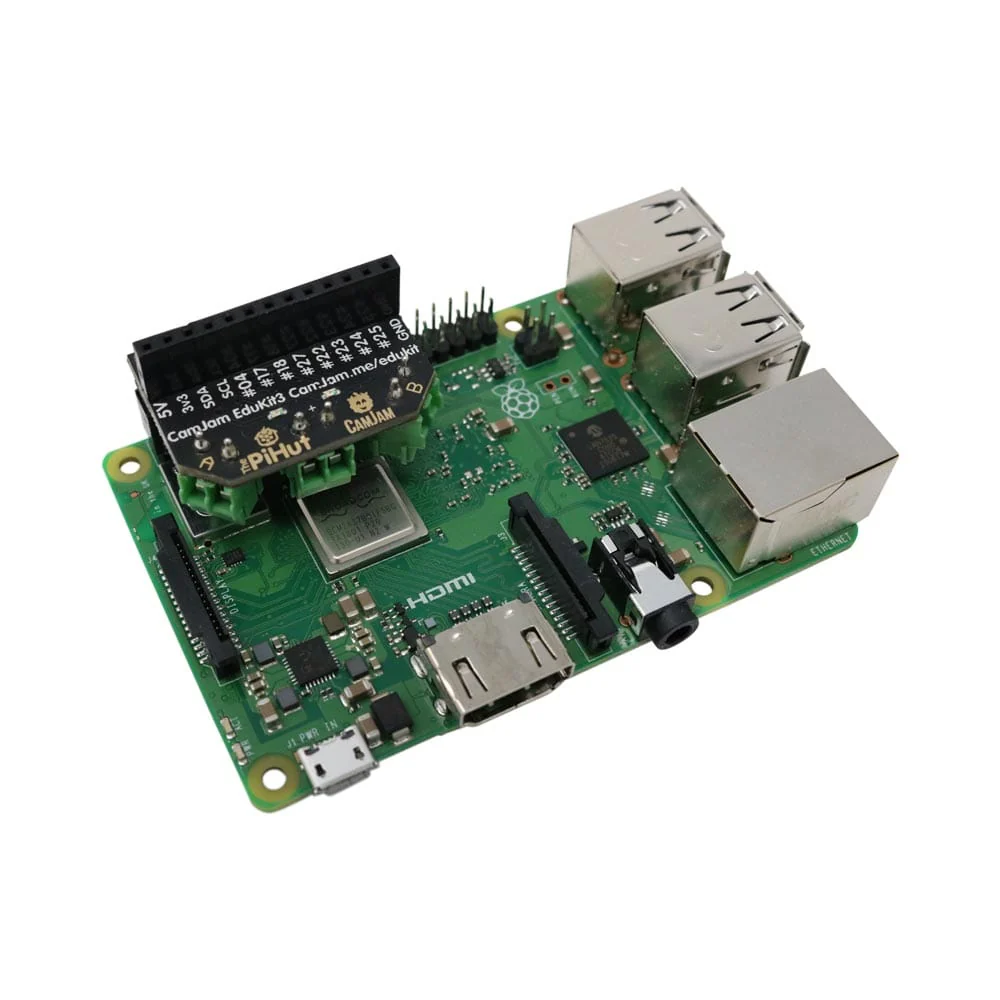
Our pre-soldered motor controller board has been custom-designed specifically for use with CamJam EduKit 3, although it shares similarities with other boards.
Motor control
The CamJam EduKit 3 Motor Controller allows you to control 2x 6V motors.
Protection
A flyback diode is provided to protect your board and Raspberry Pi if you should accidentally wire up the power source the wrong way around.
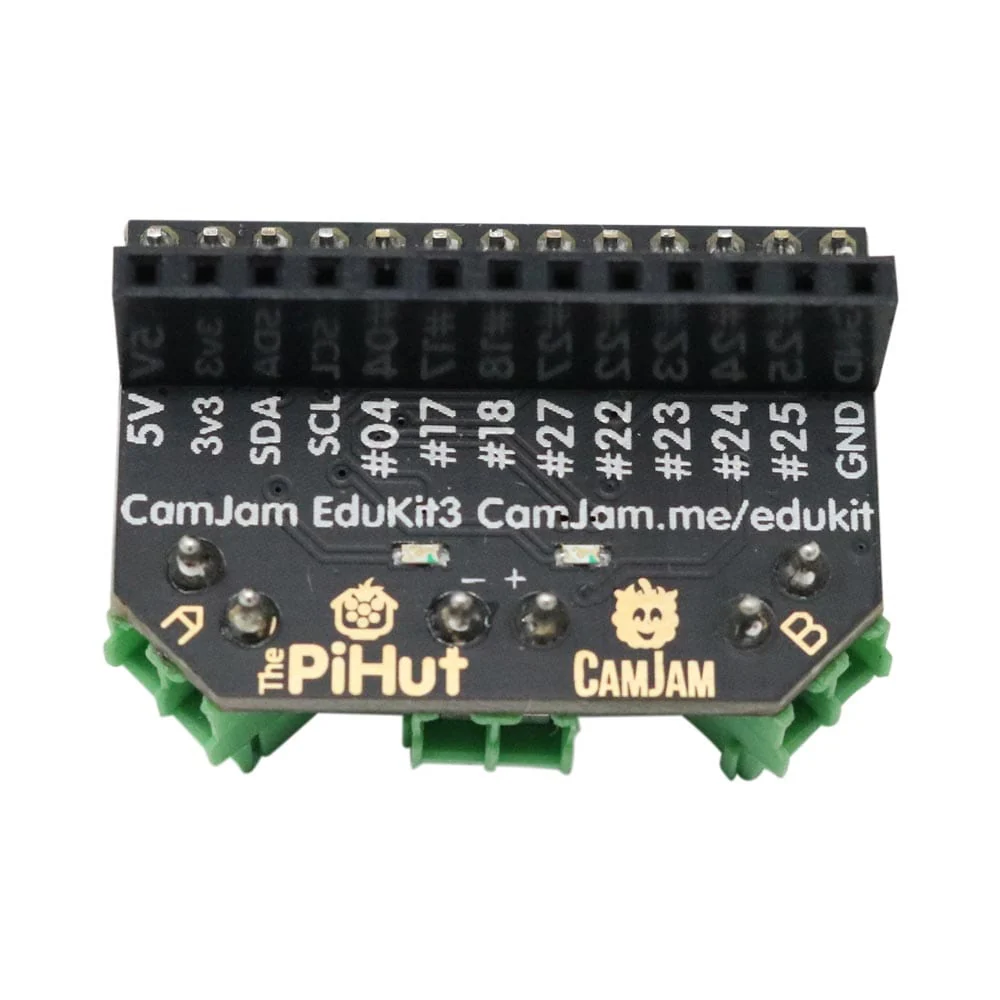
GPIO Pins
Lots of the Raspberry Pi’s GPIO pins are broken out to a handy low-profile female header, allowing you to easily and quickly add sensors, LED indicator lights etc
There are also two LEDs on the board, attached to GPIO15 (red) and GPIO14 (green), easily controlled with the GPIO Zero LED function. These do not light up by default (although you may see the red LED light up dimly on boot due to the pin used).
See all the GPIO pin mappings on pinout.xyz
Code
See the GitHub Repository
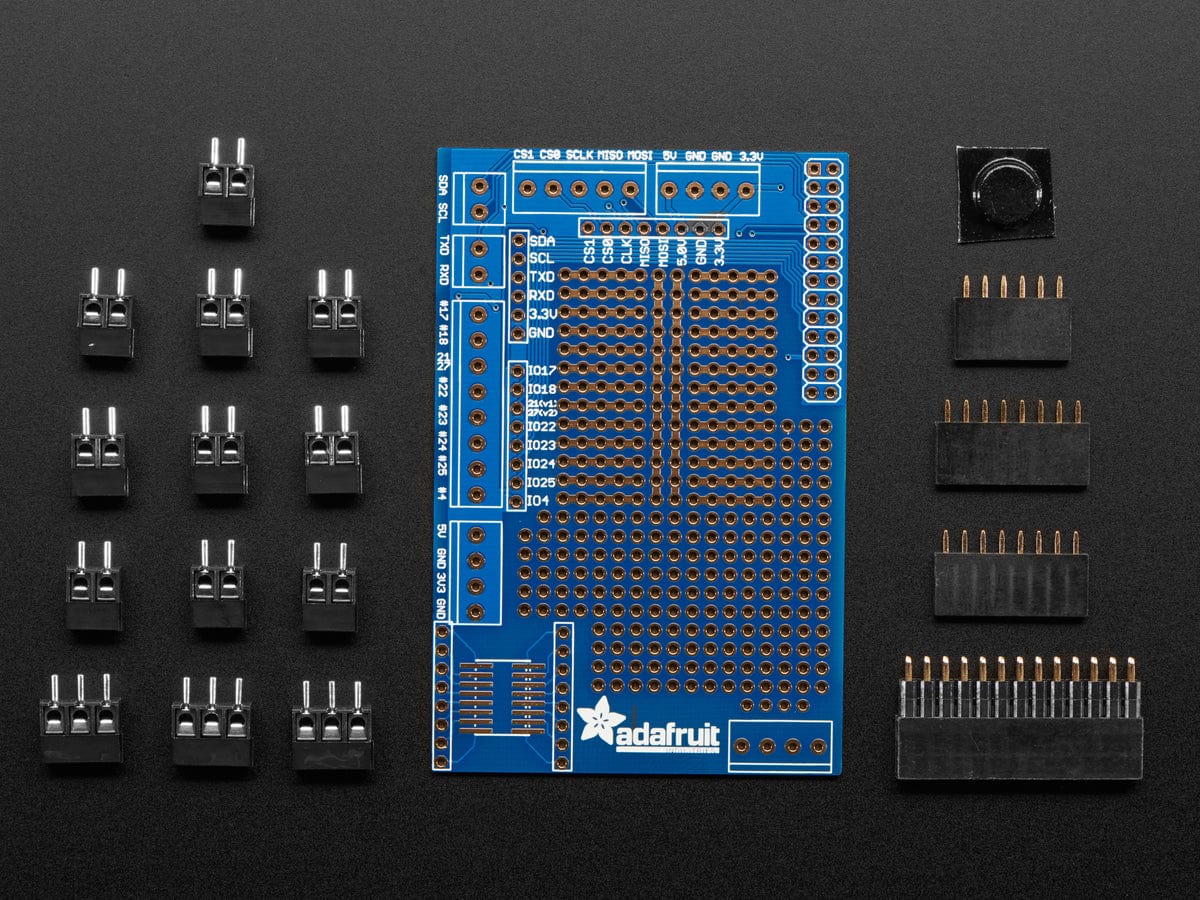
Features
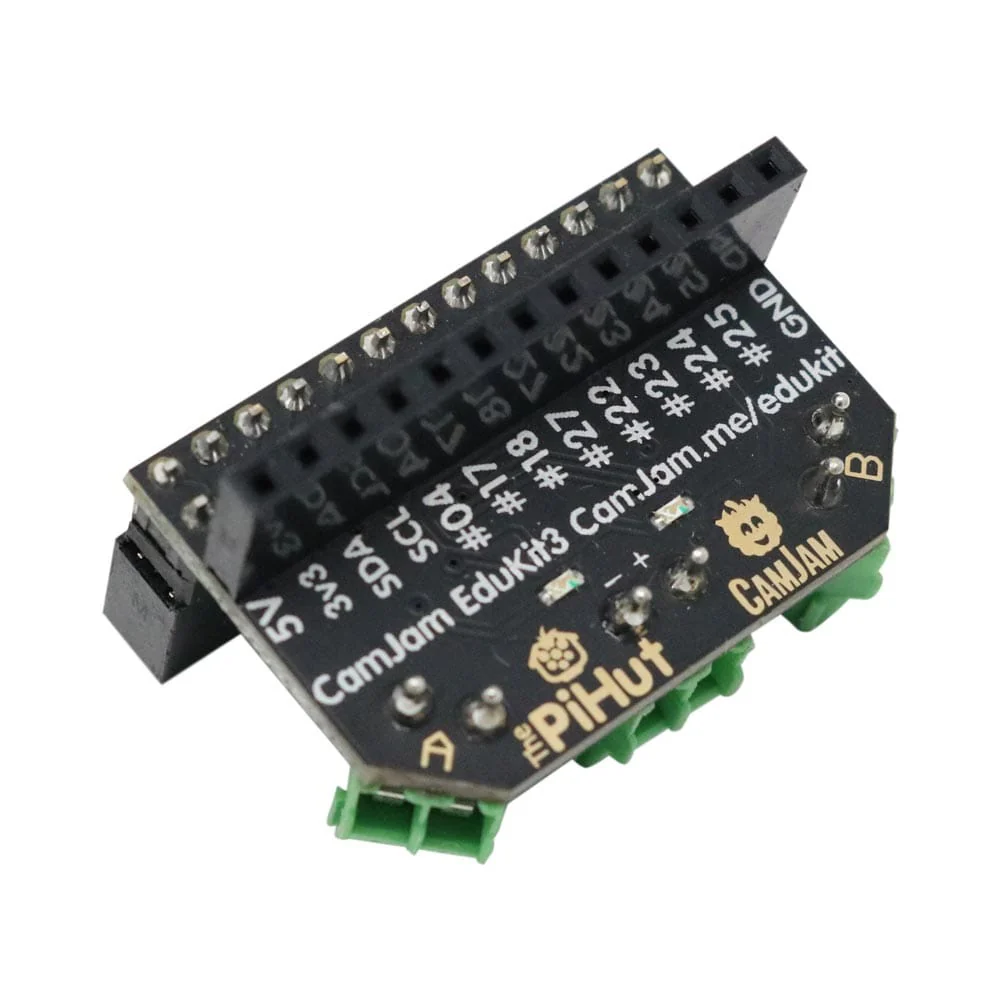
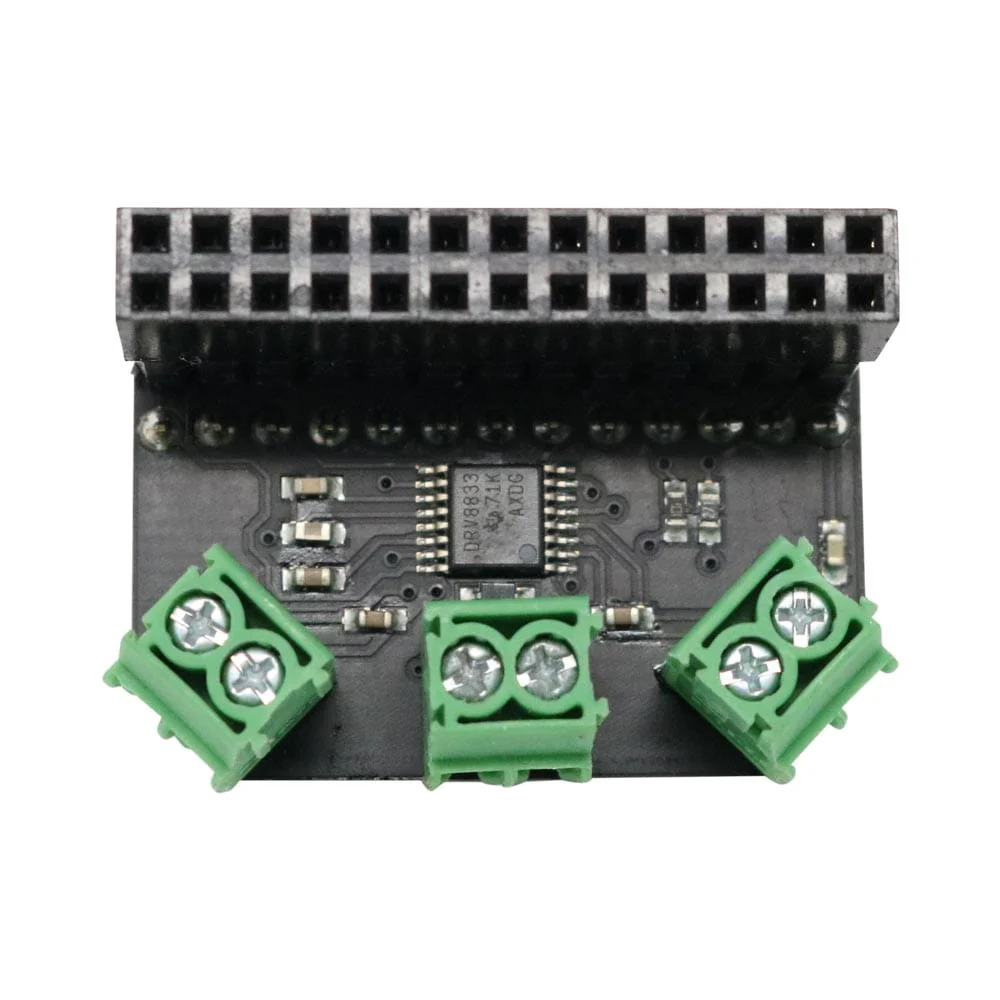
- A dual H-bridge motor controller chip (DRV8833 - link https://www.ti.com/lit/ds/symlink/drv8833.pdf), allowing you to control two 6V DC motors.
- Screw terminals for the motors and for power input, requiring no soldering.
- Power input expects you to use 4 AA batteries although it can accept voltages up to 10V if you have more powerful motors available.
- Lots of the Raspberry Pi’s GPIO pins are broken out to a low-profile female header, allowing you to extend the capabilities of the Pi with sensors and LED indicator lights, for example.
- A “flyback diode” to protect your motor controller board if you should accidentally wire up your power source the wrong way round!
Product Information
Product Information
Shipping & Returns
Shipping & Returns
CamJam EduKit 3 Motor Controller
CamJam EduKit 3 Motor Controller
Want another CamJam EduKit 3 motor controller board? You’ve come to the right place!
Our pre-soldered motor controller board has been custom-designed specifically for use with CamJam EduKit 3, although it shares similarities with other boards.
Motor control
The CamJam EduKit 3 Motor Controller allows you to control 2x 6V motors.
Protection
A flyback diode is provided to protect your board and Raspberry Pi if you should accidentally wire up the power source the wrong way around.
GPIO Pins
Lots of the Raspberry Pi’s GPIO pins are broken out to a handy low-profile female header, allowing you to easily and quickly add sensors, LED indicator lights etc
There are also two LEDs on the board, attached to GPIO15 (red) and GPIO14 (green), easily controlled with the GPIO Zero LED function. These do not light up by default (although you may see the red LED light up dimly on boot due to the pin used).
See all the GPIO pin mappings on pinout.xyz
Code
See the GitHub Repository
Features
- A dual H-bridge motor controller chip (DRV8833 - link https://www.ti.com/lit/ds/symlink/drv8833.pdf), allowing you to control two 6V DC motors.
- Screw terminals for the motors and for power input, requiring no soldering.
- Power input expects you to use 4 AA batteries although it can accept voltages up to 10V if you have more powerful motors available.
- Lots of the Raspberry Pi’s GPIO pins are broken out to a low-profile female header, allowing you to extend the capabilities of the Pi with sensors and LED indicator lights, for example.
- A “flyback diode” to protect your motor controller board if you should accidentally wire up your power source the wrong way round!
Original: $13.62
-70%$13.62
$4.09Product Information
Product Information
Shipping & Returns
Shipping & Returns
Description
Want another CamJam EduKit 3 motor controller board? You’ve come to the right place!
Our pre-soldered motor controller board has been custom-designed specifically for use with CamJam EduKit 3, although it shares similarities with other boards.
Motor control
The CamJam EduKit 3 Motor Controller allows you to control 2x 6V motors.
Protection
A flyback diode is provided to protect your board and Raspberry Pi if you should accidentally wire up the power source the wrong way around.
GPIO Pins
Lots of the Raspberry Pi’s GPIO pins are broken out to a handy low-profile female header, allowing you to easily and quickly add sensors, LED indicator lights etc
There are also two LEDs on the board, attached to GPIO15 (red) and GPIO14 (green), easily controlled with the GPIO Zero LED function. These do not light up by default (although you may see the red LED light up dimly on boot due to the pin used).
See all the GPIO pin mappings on pinout.xyz
Code
See the GitHub Repository
Features
- A dual H-bridge motor controller chip (DRV8833 - link https://www.ti.com/lit/ds/symlink/drv8833.pdf), allowing you to control two 6V DC motors.
- Screw terminals for the motors and for power input, requiring no soldering.
- Power input expects you to use 4 AA batteries although it can accept voltages up to 10V if you have more powerful motors available.
- Lots of the Raspberry Pi’s GPIO pins are broken out to a low-profile female header, allowing you to extend the capabilities of the Pi with sensors and LED indicator lights, for example.
- A “flyback diode” to protect your motor controller board if you should accidentally wire up your power source the wrong way round!